How to Access Email Folders on Iphone 6
Use mailboxes to organize email on your iPhone, iPad, or iPod touch
There are a lot of ways to organize your email in the Mail app on your iPhone, iPad, or iPod touch. You can create mailboxes to organize email, use VIP and flags to help things stand out, and more.
How to use mailboxes
A mailbox is a folder that you can use to organize your email. In the Mail app, you can use standard mailboxes — like Inbox, Sent, and Trash. Or you can create custom mailboxes. You can also use VIP and flags to make certain email messages stand out.
Create custom mailboxes
You can create custom mailboxes to sort your email into categories like work, family, and more. Here's how:
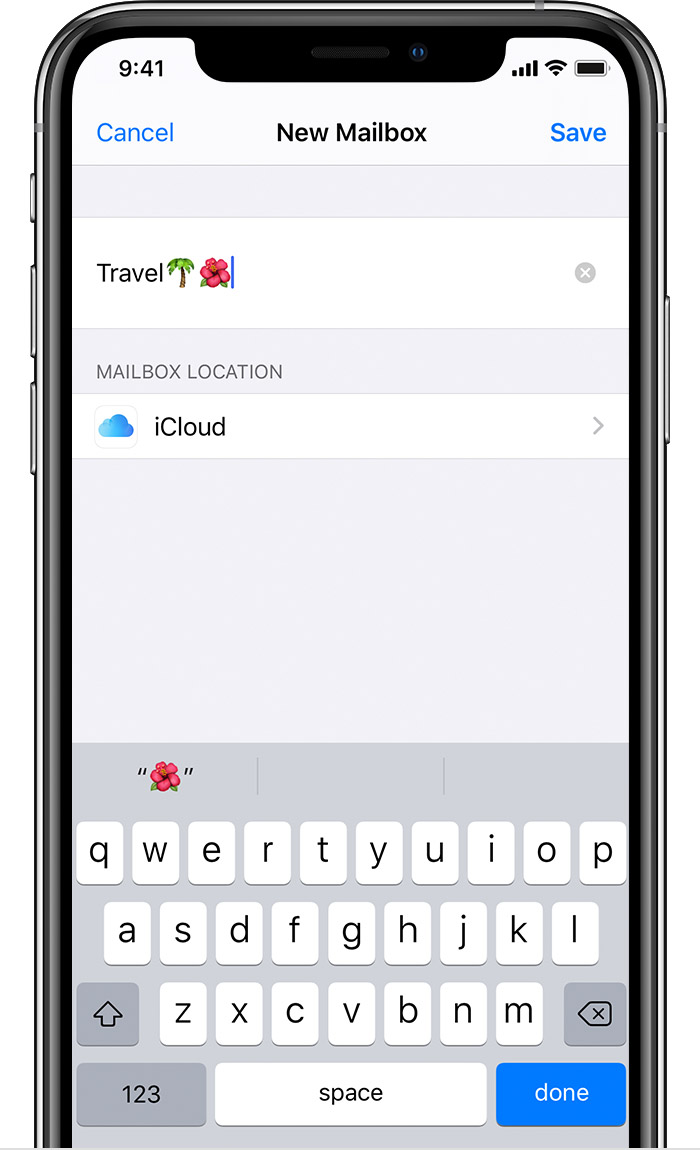
- In the Mailboxes list, tap Edit in the upper-right corner, then tap New Mailbox.
- Give your mailbox a name. If you have more than one email account set up on your device, tap Mailbox Location and choose the account where you want to create a mailbox.
- Tap Save, then tap Done.
You can find your new mailbox in the Mailboxes list under the account where you created it. You can also create a shortcut for a custom mailbox so you can find it at the top of the Mailboxes list.
![]()
Move your email messages to a mailbox
After you create a custom mailbox, you can move your email to it. Here's how:
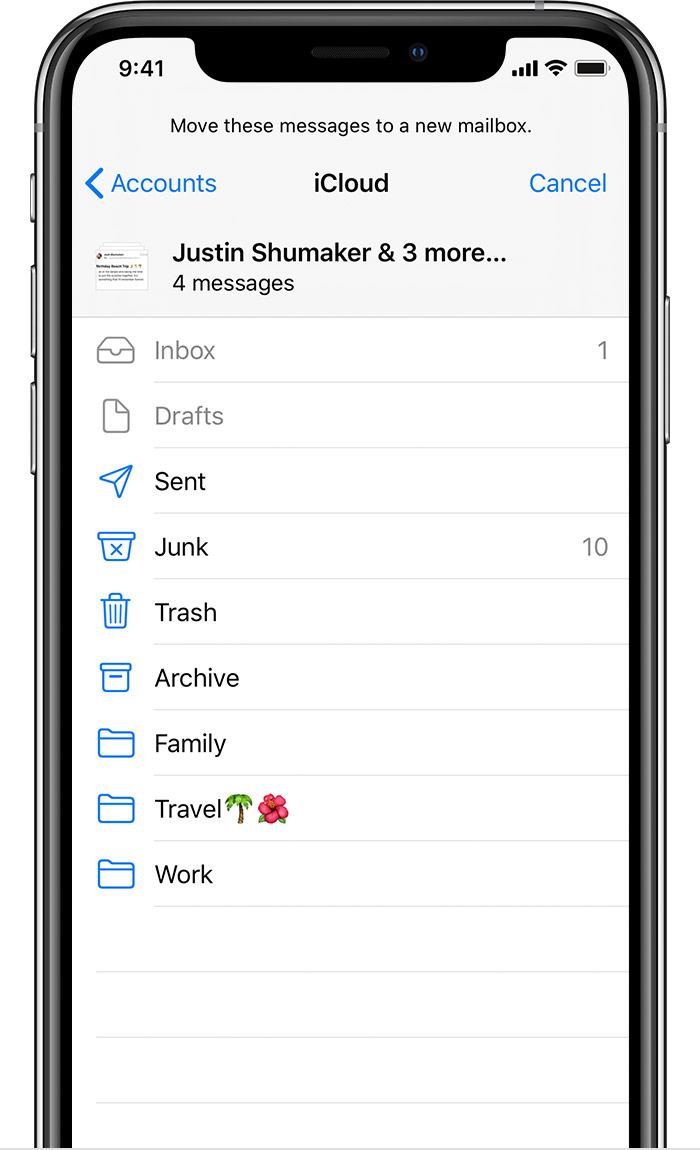
- Go to your Inbox in Mail.
- Tap Edit in the upper-right corner.
- Select the email messages, then tap Move.
- Choose a mailbox to move the email messages to.
![]()
Delete mailboxes
When you delete a custom mailbox, it permanently deletes all of the email messages inside of the mailbox and from your account. Before you delete a mailbox, you can move your email to another mailbox.
To delete a mailbox:
- Go to your Mailboxes list and tap Edit in the upper-right corner.
- Tap the mailbox you want to delete.
- Tap Delete Mailbox.
- Tap Delete, then tap Done.
You can only delete custom mailboxes.

How to use the VIP mailbox
In the Mail app, you can specify certain people as VIPs to help keep track of messages they send. Your VIPs have a star![]() next to the names in the message header. Your VIP mailbox is in the list of your mailboxes.
next to the names in the message header. Your VIP mailbox is in the list of your mailboxes.
If you can't find your VIP mailbox, make sure it's turned on. Go to Mail, tap Edit, then make sure VIP is selected in the list of mailboxes.
Add a VIP
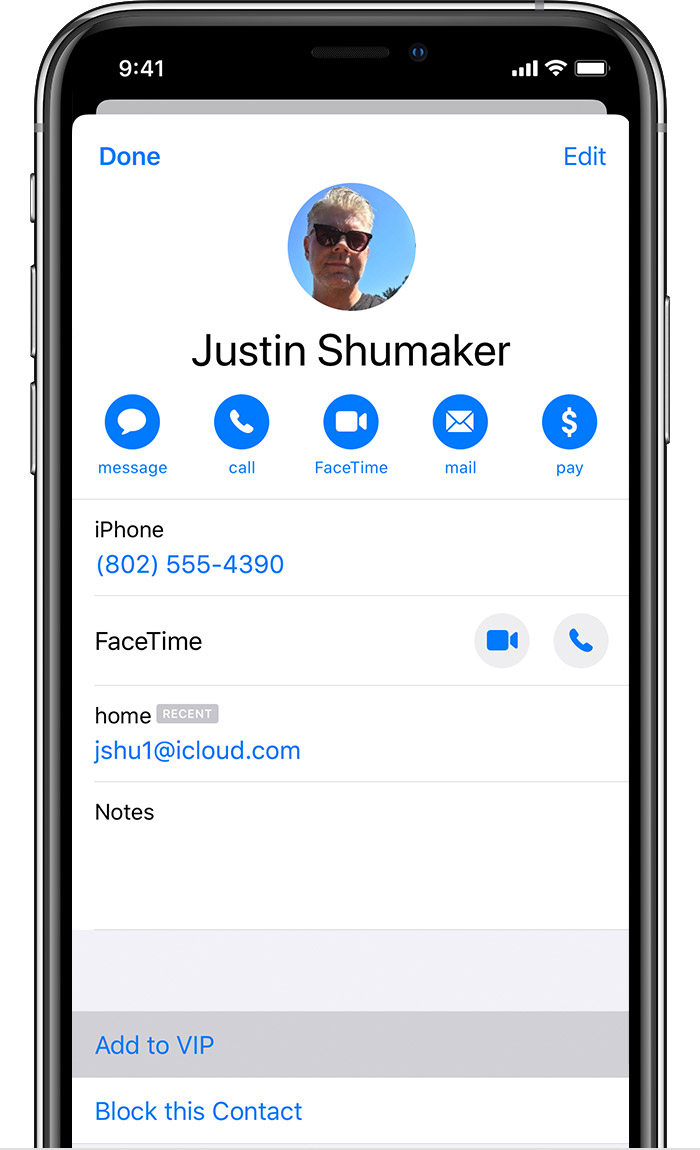
- Go to an email.
- Tap the sender's name or email address in the message header.
- Tap Add to VIP.
Mail adds the VIP to your VIP mailbox.
![]()
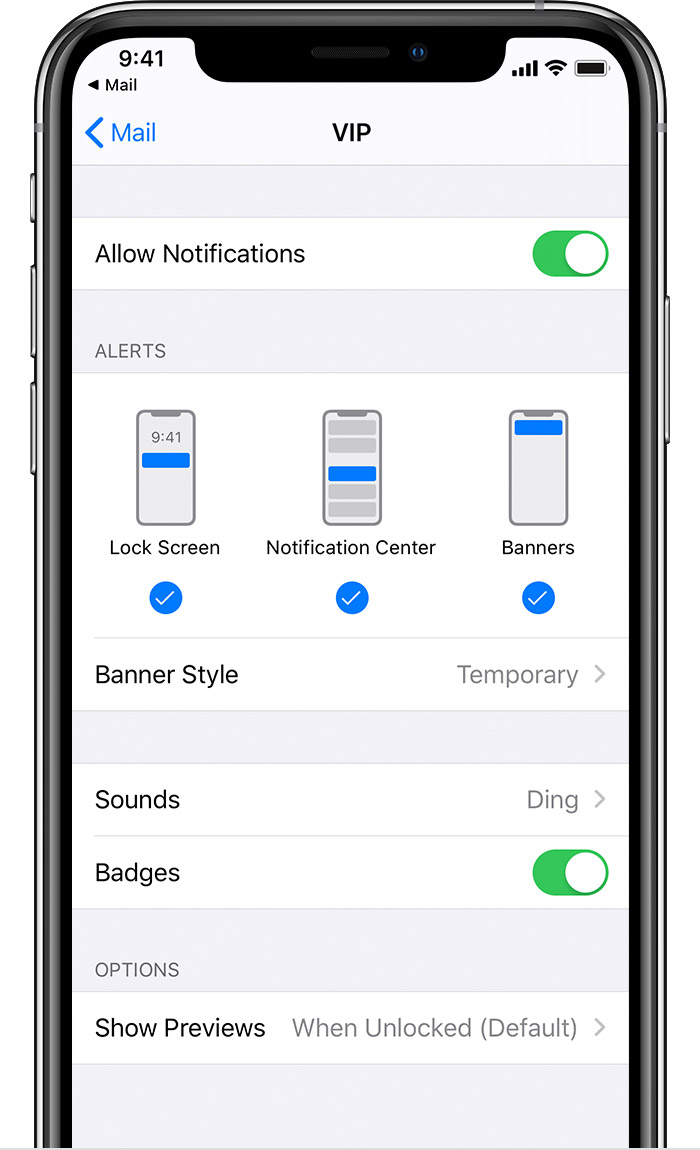
Change VIP alerts
- Open Mail.
- Tap
 next to VIP.
 - Tap VIP Alerts.
- Then select the alerts you want to set.
You can also go to Settings > Notifications > Mail, tap VIP, then select how you want to get VIP notifications.
![]()
Flag your email
You can mark your email with a flag to help you keep track of your messages. You can even color code your different flags. When you flag an email, you'll see a flag![]() next to the email thread.
next to the email thread.
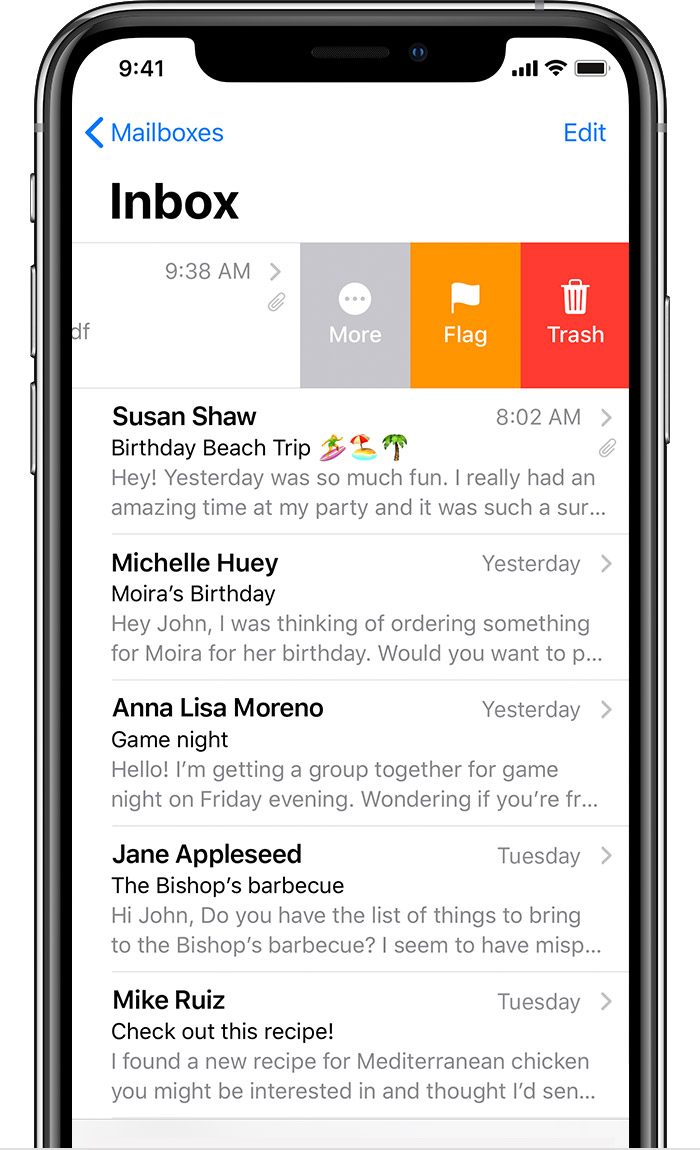
Use the default flag:
- Go to the mailbox that has the email you want to flag.
- Swipe left over the email.
- Tap Flag.

On iOS 13 and iPadOS, you can change the color of the flag. Here's how:
- Go to an email thread.
- Tap the Reply
 button.
 - Select the color you want to use for that flag.
![]()
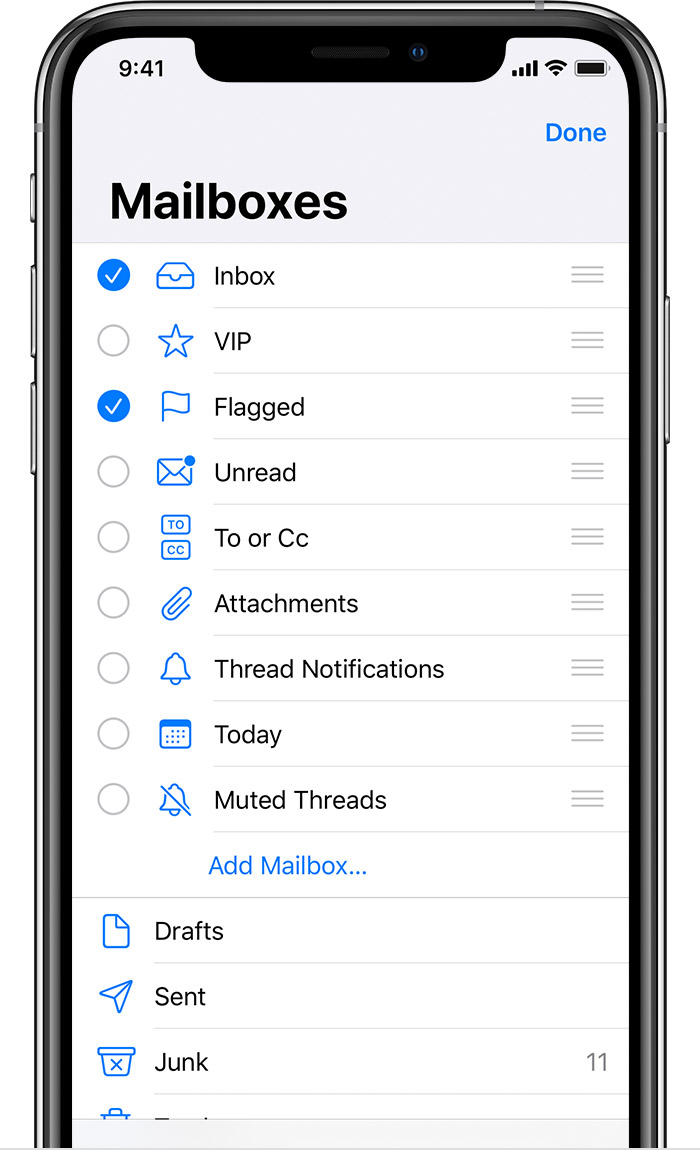
Find your flagged email
- Open the Mail app.
- Tap Edit in the upper-right corner.
- Select Flagged.
- Tap Done.
![]()
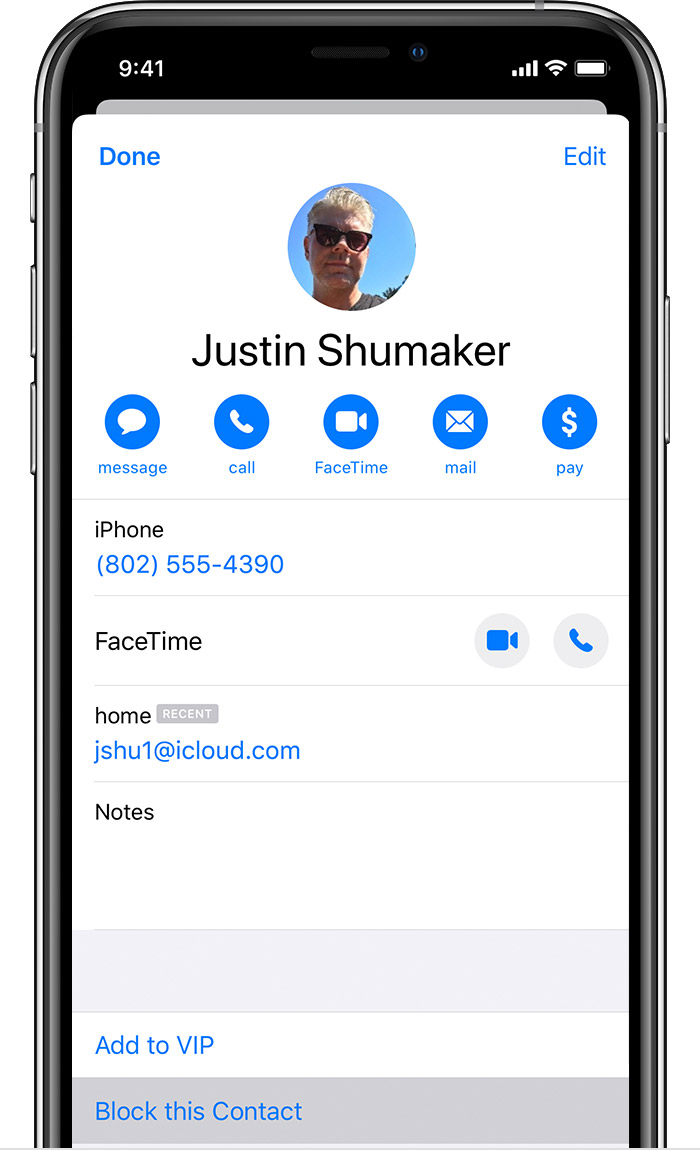
Block senders
You can block email messages from within the Mail app and from Settings. Here's how to block from the Mail app:
- Go to the email you want to block.
- Tap the sender's name or email address at the top of the message.
- Tap Block this Contact.
![]()

To block a saved contact from Settings:
- Go to Settings, and tap Mail.
- Tap Blocked.
- Scroll to the bottom of your screen and tap Add New.
- Enter the contact you want to block.
To view your blocked contacts:
- Go to Settings, and tap Mail.
- Scroll down and tap Blocked.
When you block an email, by default, it marks the message as Blocked but keeps it in your Inbox. If you want to change this setting:
- Go to Settings > Mail.
- Tap Blocked Sender Options.
- Then select: None, Mark as Blocked, Leave in Inbox, or Move to Trash.
![]()
Published Date:
Thanks for your feedback.
How to Access Email Folders on Iphone 6
Source: https://support.apple.com/en-us/HT207213
0 Response to "How to Access Email Folders on Iphone 6"
Post a Comment